1. Initial Setup
After setting up the device (firmware, SD card, WLAN) the device will connect to the wifi access point and start in an initial setup configuration:
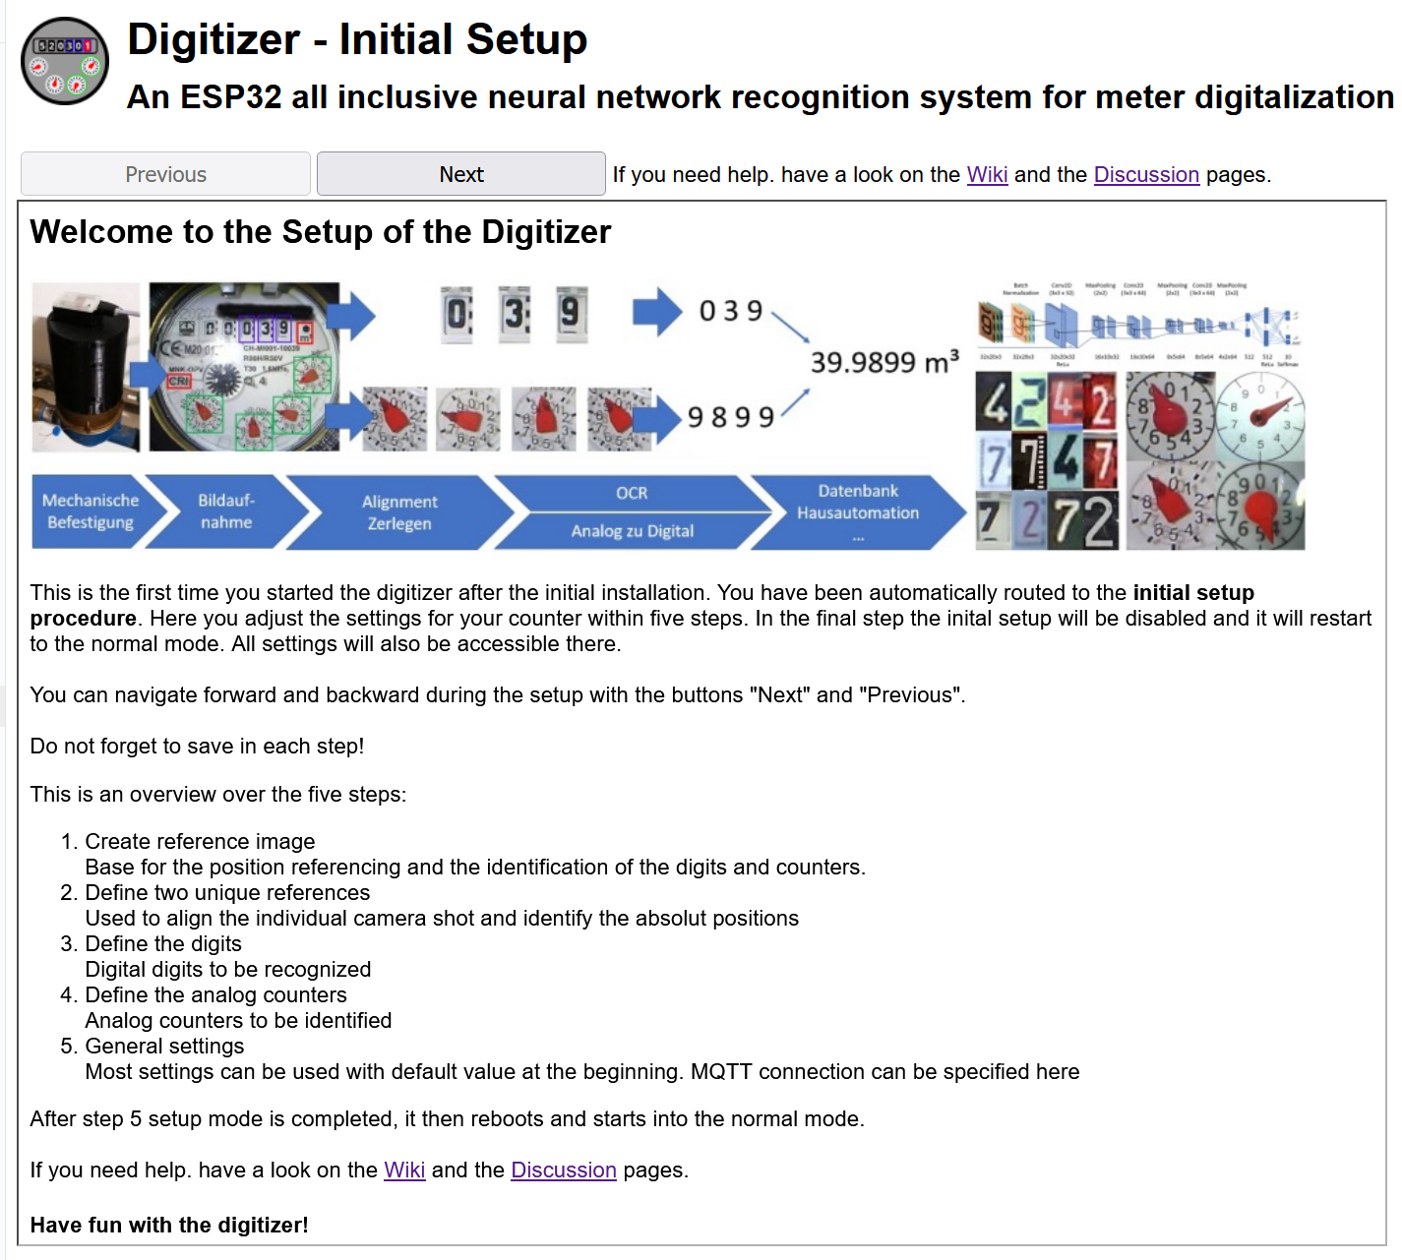
With the buttons on the top you can navigate through 5 steps which guide you through the necessary setup:
- Create the Reference Image. It is the base for the position referencing and the identification of the digits and counters.
- Define two unique Reference Marks. They is used to align the individual camera images and identify the absolute positions.
- Define ROIs for the Digits. They will be used to digitize the digit part of your meter. If your meter has no digits, this step can be skipped.
- Define ROIs for the Analog Counters. (Only required in case your meter has analog counters)
- General Settings. Further configuration of your device.
All settings can be accessed later in the normal operation mode.
Note
Don't forget to save each step with "Save", and do not reboot at this stage.
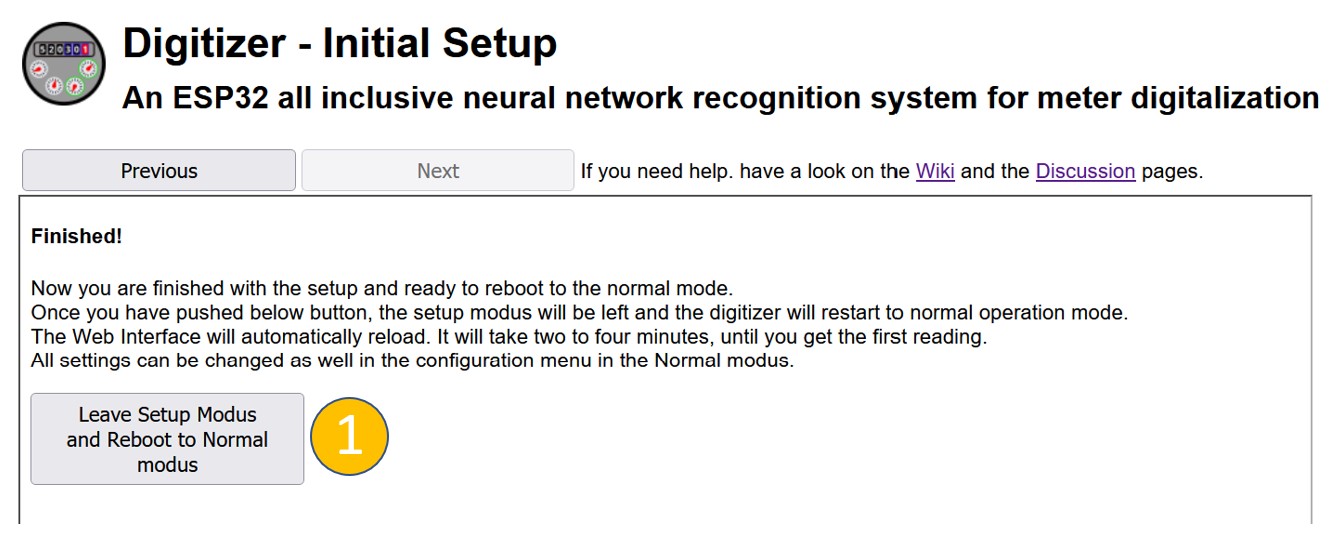
1.1 Finish the Setup and change to the Normal Operation mode
With the last step (1) you leave the Setup Mode and reboot to the Normal Operation mode.
1.2 Access to the Setup Pages in the Normal Operation mode
You always can access all the settings during the normal operation mode via the Settings menu:
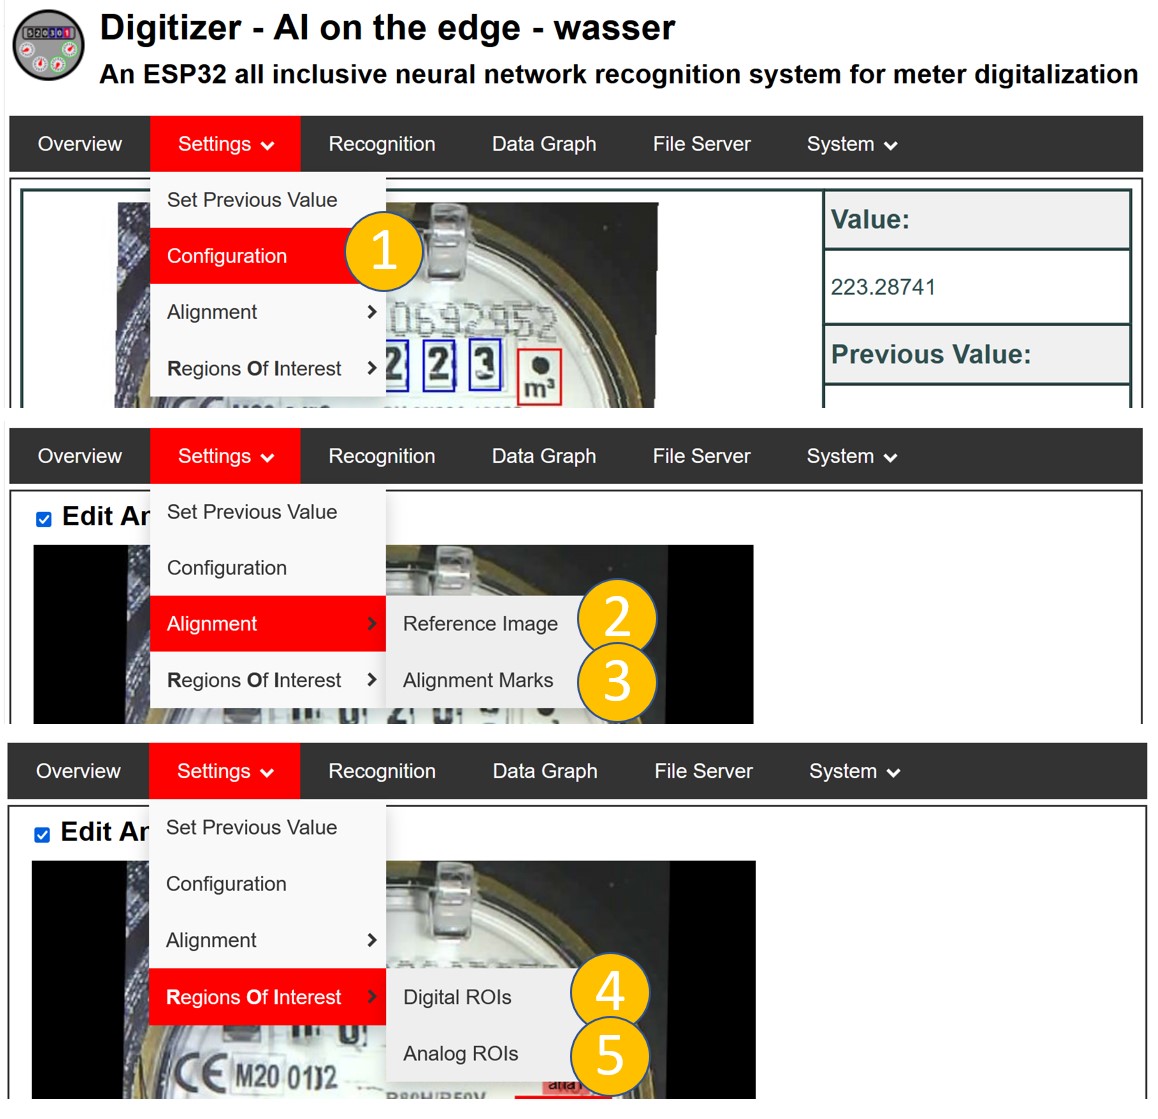
(1)Access to the General Settings.(2)Update of the Reference Image.(3)Update of the Alignment Marks.(4)/(5)Update of the ROIs.